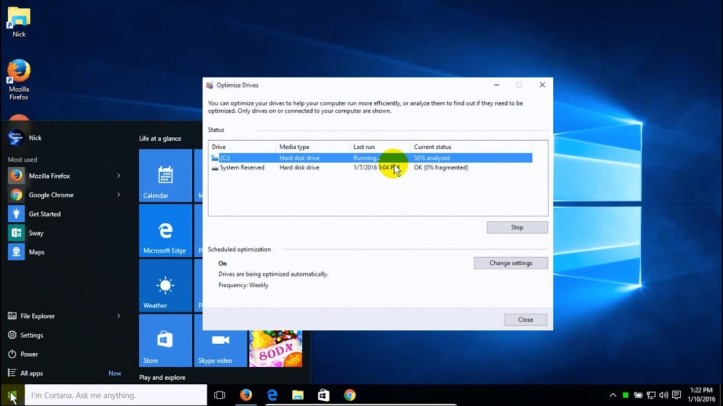
Windows 10 comes up with an inbuilt tool to defragment all files fragmented on your device, and this helps your device to run smoothly without any problem. Defragmentation of your system helps the hard drive to boost the performance and keep your storage device run fluently. With this feature, you can increase the life of your hard drive and optimize the file loading and transfer speed as well. However, several users are facing some issues while using the Disk Defragment feature in their devices.

If you are also facing the same issues, then you have landed on the right website. In this article, you will learn how to fix the Disk Defragmenter when it doesn’t work.
Fixing the Windows 10 Disk Defragmenter Not Working Error
Follow these methods to troubleshoot the not working disk defragmenter error on Windows 10:
Method 1: Running the sfc/scannow Command
The first thing you should try is the command: sfc/scannow. This command is capable of analyzing and fixing the hidden system errors. It basically scans the protected system files along with the defragmentation issues on your hard drive. By running this scan, you can probably fix the defrag not working error on your equipment. Here’s how to use the sfc/scannow command on Windows 10:
- Head to the Start Menu.
- Search for Command Prompt and then right-click on Command Prompt from the results.
- Choose the Run as administrator option.
- The Command Prompt will trigger on the screen, and there you have to enter the “sfc/scannow” command.
- After that, hit the Enter key on your computer.
- The scan will initiate.
It will scan all corrupted files on your computer and then will replace those files.
Related Article
- How to Solve “Error 0x80240fff Blocks Windows 10 Updates”
- How to Fix 0xc0000001 Error Code on Windows?
Method 2: Checking the Disk Defragmenter Service
If the system is facing any software glitches or misconfiguration, then you can check that on the Services tab. In the Services, you can check the current stats of all Windows services. Moreover, you can even enable, disable, run, or stop service as per your desire.
See these instructions in order to fix the disk defragment error:
- Open the Start Menu on your Windows 10 installed computer, search for the services.msc.
- Now select the Services icon from the results.
- This will make your way through the Services tab.
- In the services tab, click on any services.
- When a service is highlighted, just type Disk Defragmenter.
- This will take you directly to the Disk Defragmenter service.
- Check if the service is enabled and running. Also, make sure that it is set to the Manual mode.
- There are three more services that have to be enabled and in the running condition. These services are Remote Procedure Call (RPC), RPC Endpoint Mapper, and DCOM Server Process Launcher.
- Make sure these services are set to Automatic mode and running.
By applying this method, you should be able to troubleshoot the Windows Defragmenter not working error. Make sure to check that the error is resolved after applying the above method.
Alex Smith is a creative person who has been writing blogs and articles about cybersecurity. He writes about the latest updates regarding mcafee.com/activate and how it can improve the work experience of users. His articles have been published in many popular e-magazines, blogs, and websites.
Comments
Post a Comment