Google Pixel is among the best mobile phones available on the market currently. One of the best features it packs is its regular updates as Google ensures to offer an update every month. This ensures that the device stays optimized and offers the best performance. Here is how you can update your Pixel:
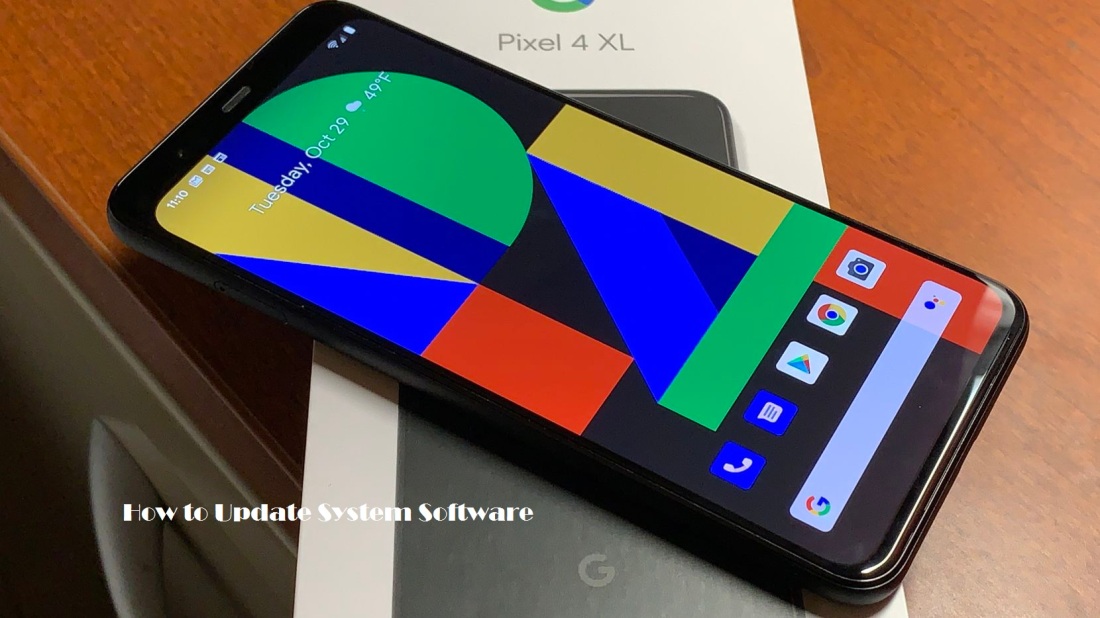
Update the software on Pixel with OTA
If you want to update the software on Pixel with OTA, then you can follow the provided steps:
- Go to Settings.
- Scroll and choose system.
- Select Advanced.
- Select System update.
- Choose Check for update in the bottom- right.
- The system will report back showing up to date. If the user is on Wi-Fi, then the system will update automatically, but if the user is on mobile data, then you have to opt for an update.
- When it is complete, you will get a notification about rebooting your phone.
Sideloading Android build
It is essential to have some knowledge about working with the Android SDK and Terminal or Command Prompt. This might harm your device if anything went wrong during the procedure. If the user needs to download the Android SDK, then they can grasp it from Android Development website.
Allow USB debugging and developer settings
If you wish to allow USB debugging and developer settings, then pursue the given instructions:
- Go to Settings.
- Then click System.
- Select About Phone.
- Choose Build number seven times till it shows “you are now a developer”.
- Return and find Developer options.
- Ensure that the developer options are on and the USB debugging is on as well.
- Switch on OEM unlocking under Developer options.
- Connect your device to your System.
- Select OK on the dialogue box showing Allow USB debugging.
How to Unlock the bootloader
Pixels phones have a bootloader that the users can unlock. However; if the users want to do manually flash the software, then it is possible as well. Here is how it can be done:
- To do this, the user must boot into bootloader.
- You can manually switch off your phone or press and hold the power button to turn it off.
- Then click volume down button to go to the Bootloader menu, or the user may also input commands.
- User must run the following command to check that the device is correctly connected. If it returns the string of characters that means it’s prepared for the update.
./adb devices
- Now go to the Bootloader menu and run the command:
./adb reboot bootloader
- At the bottom of the screen, it shows several things about the lock state of the device.
- This is required during flashing of a stock firmware image. Then you must input given commands. When the user unlocks the Pixel’s bootloader, it will factory reset, and everything will be reset.
- If the file is not backed up on your device, still you can click the power button and will highlight in the Bootloader menu, and boot normally. Then return to unlock your bootloader and input
./fastboot flashing unlock
- A dialogue shows reading, Are you sure about the opening. It will automatically factory reset and if the user wants to back out from this procedure, then click No with the power button.
- If the user is ready to unlock the bootloader, then they can click the volume up button and then the power button.
./fastboot reboot-bootloader
Alex Smith is a Microsoft Office expert and has been working in the technical industry since 2002. As a technical expert, Alex has written technical blogs, manuals, white papers, and reviews for many websites such as office.com/setup.
Related Article
Comments
Post a Comment